
Elite Dangerous is a fantastic game. Made by Frontier Developments, the game is (in my honest opinion), one of the best space ship simulators available on the market for consumers. Especially if you truly immerse yourself into the game by using additional hardware, such as flight controllers (I have a Thrustmaster Warthog) or VR headsets like Oculus Rift. If the latter is too expensive (or you feel it is too much of a strain on the eyes to use for longer periods of time), it is possible to further enhance the gameplay using head tracking devices.
One such head tracking device is the EDTracker. It is recognized by the operating system as a joystick, so it can be used for several different games and applications. Check out the demo video below!
EDTracker consists of both hardware and software. The hardware can be bought ready to use, or you can buy the parts and assemble it yourself. Self-assembly is much cheaper, but it requires that you have a soldering iron and some basic skills in electronics (as in know how to read a drawing, use a multi meter, how to solder/desolder, etc.). If you choose to assemble it yourself, the parts cost around £19 GBP included shipping to Norway, not including solder and wires.
Here’s a photo of the parts I received. It includes an Arduino clone called Pro Micro (ATMega 32U4 chip), a prototyping board, a tactile switch and most importantly, the MPU-9250 chip which provides gyro, accelerometer and compass.
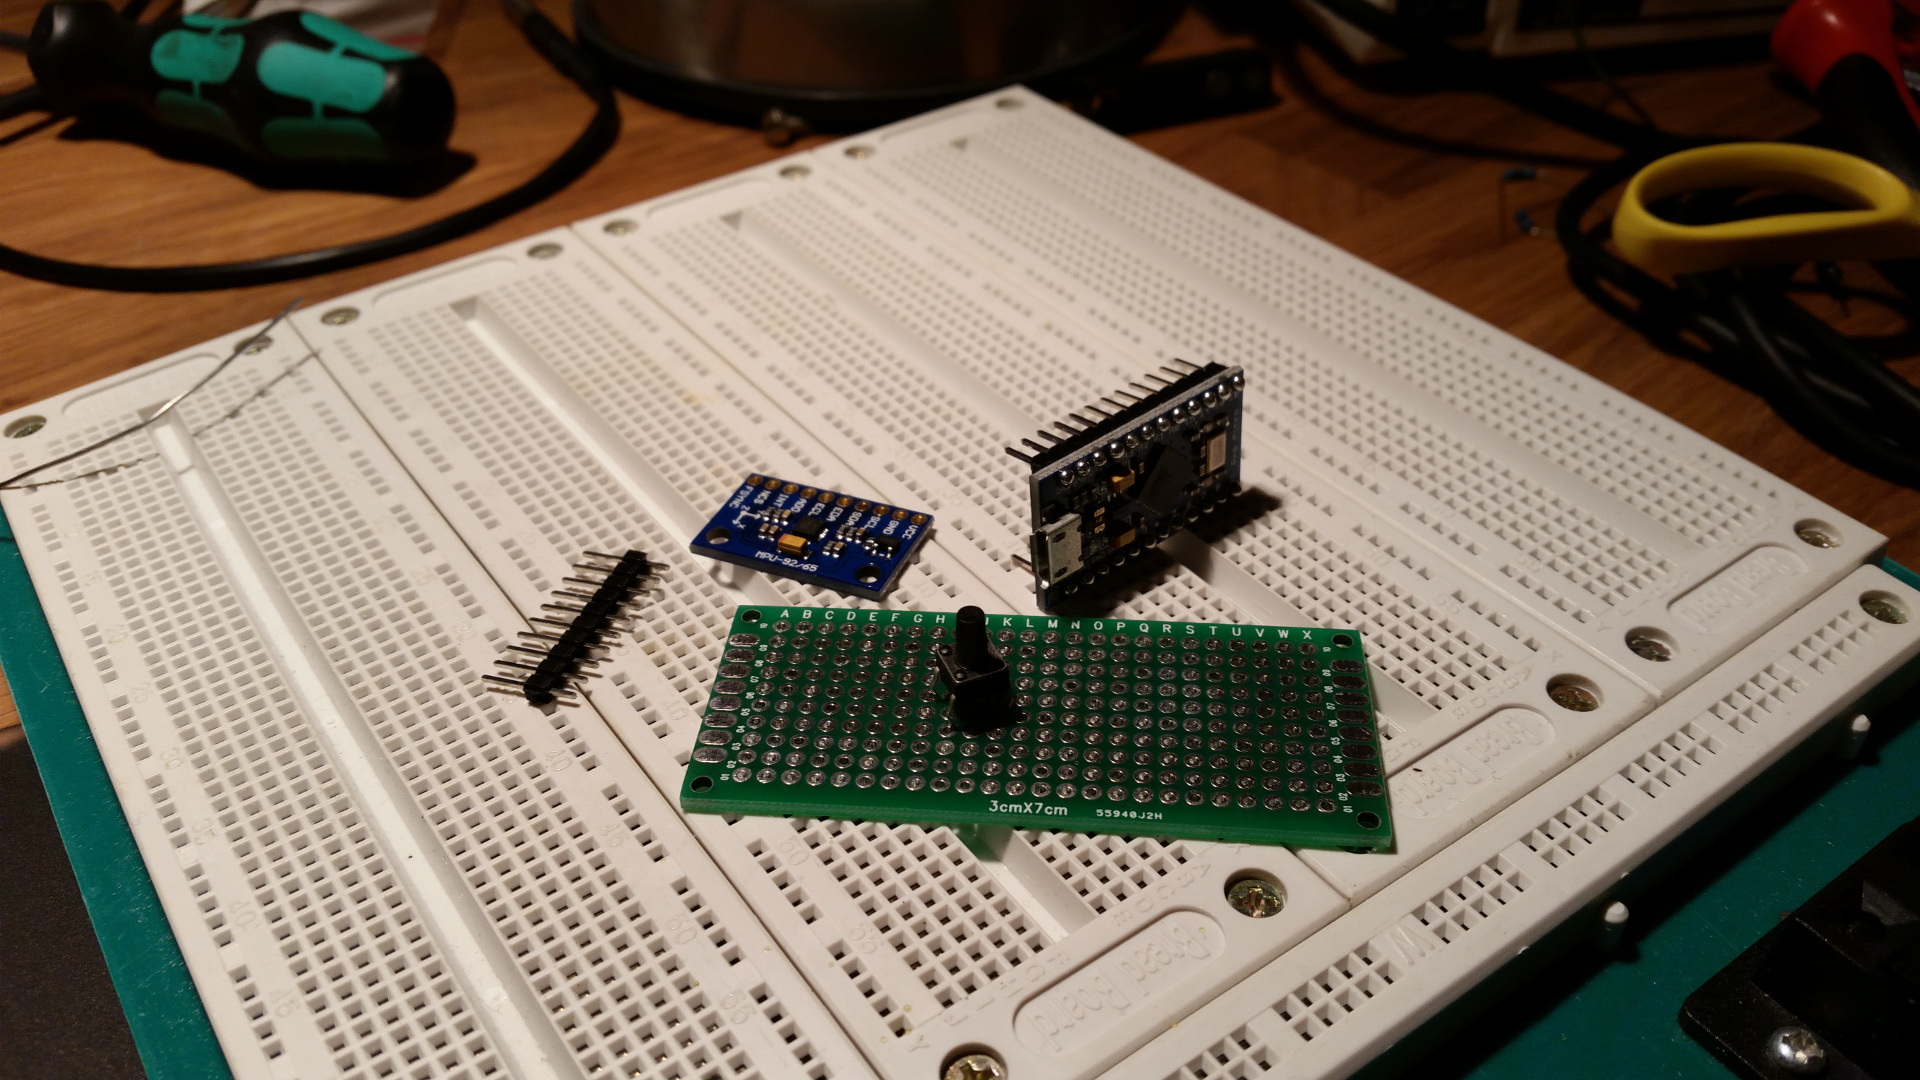
For wires, I just stripped some CAT 5e cable.

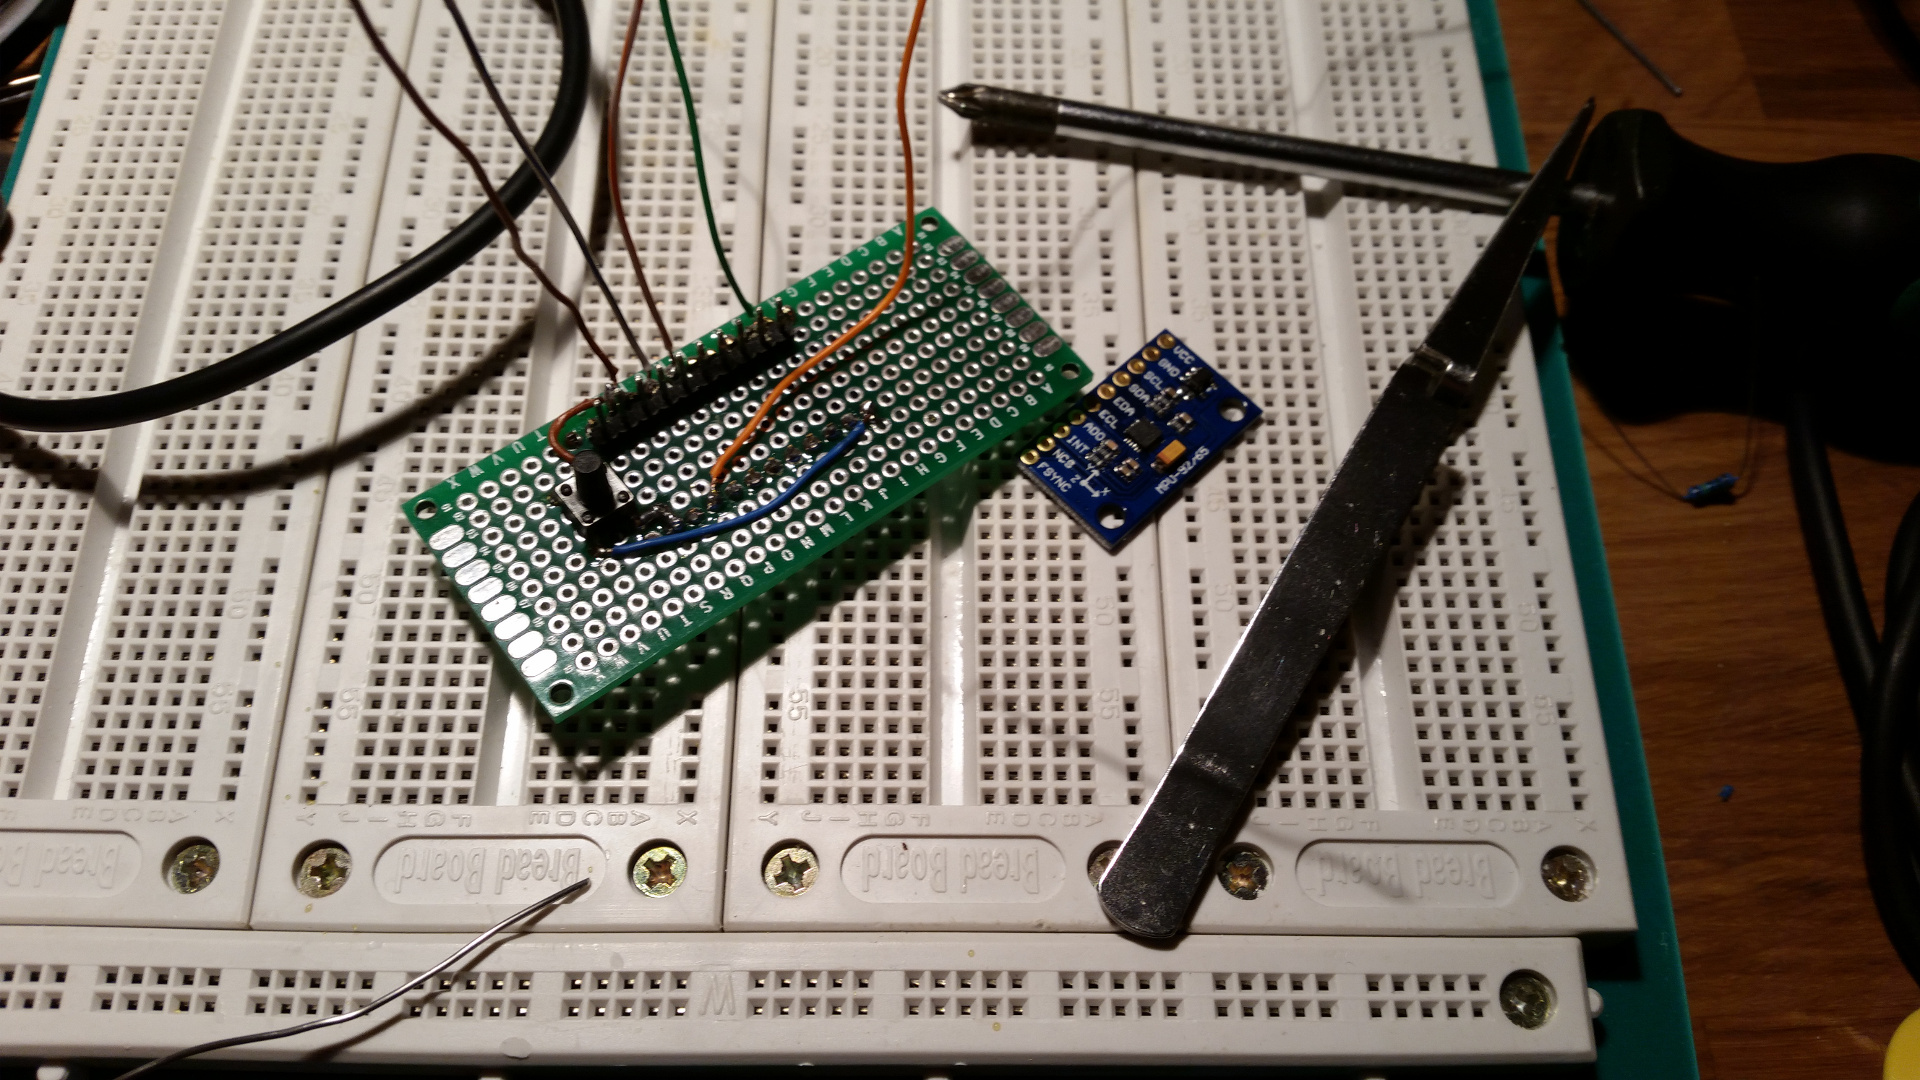
The Pro Micro controller is now soldered on the protoboard in addition to the tactile switch with wiring. Brown wire is GND, blue is button input, orange is VCC (for powering the MPU-9250). The remaining wires are for data. My build deviates somewhat from the drawing, as I have mounted the microcontroller “upside down” that I have mounted the microcontroller upside down, for easier access
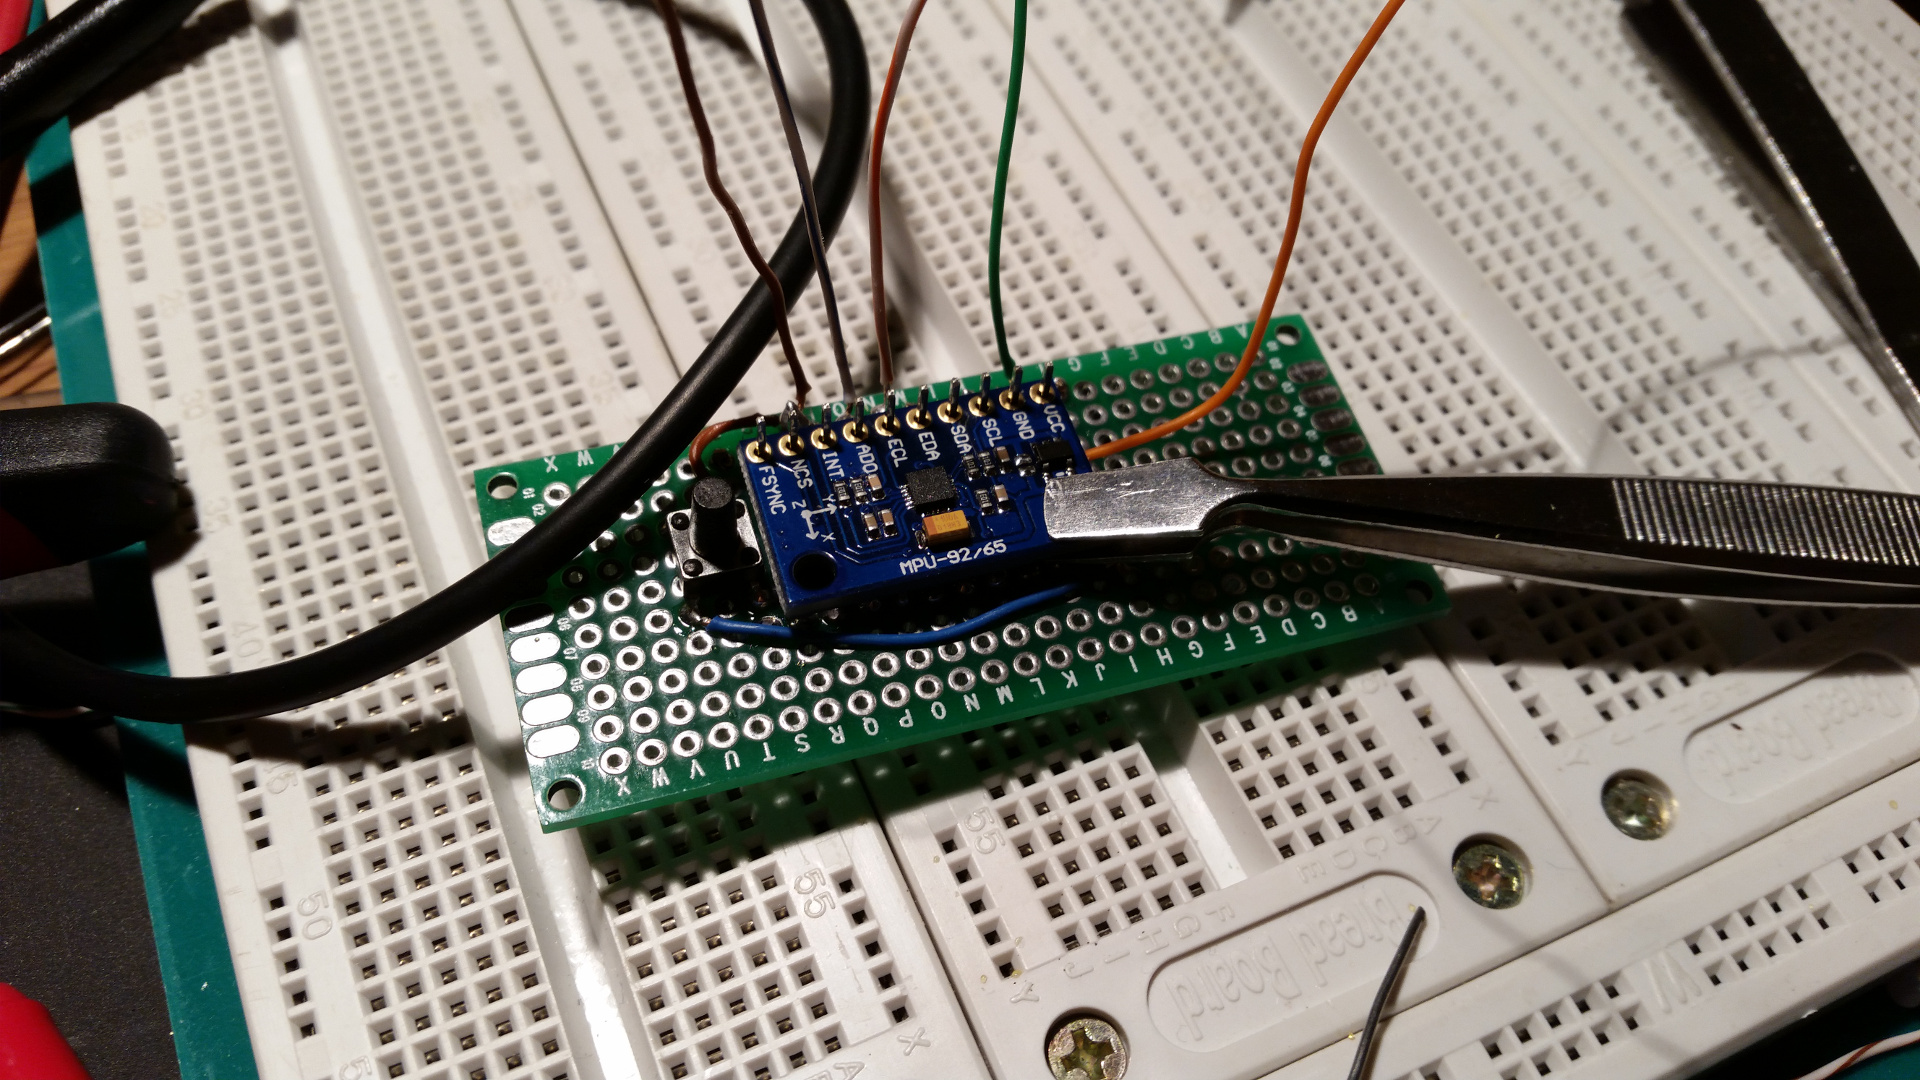
Adding the MPU-9250.
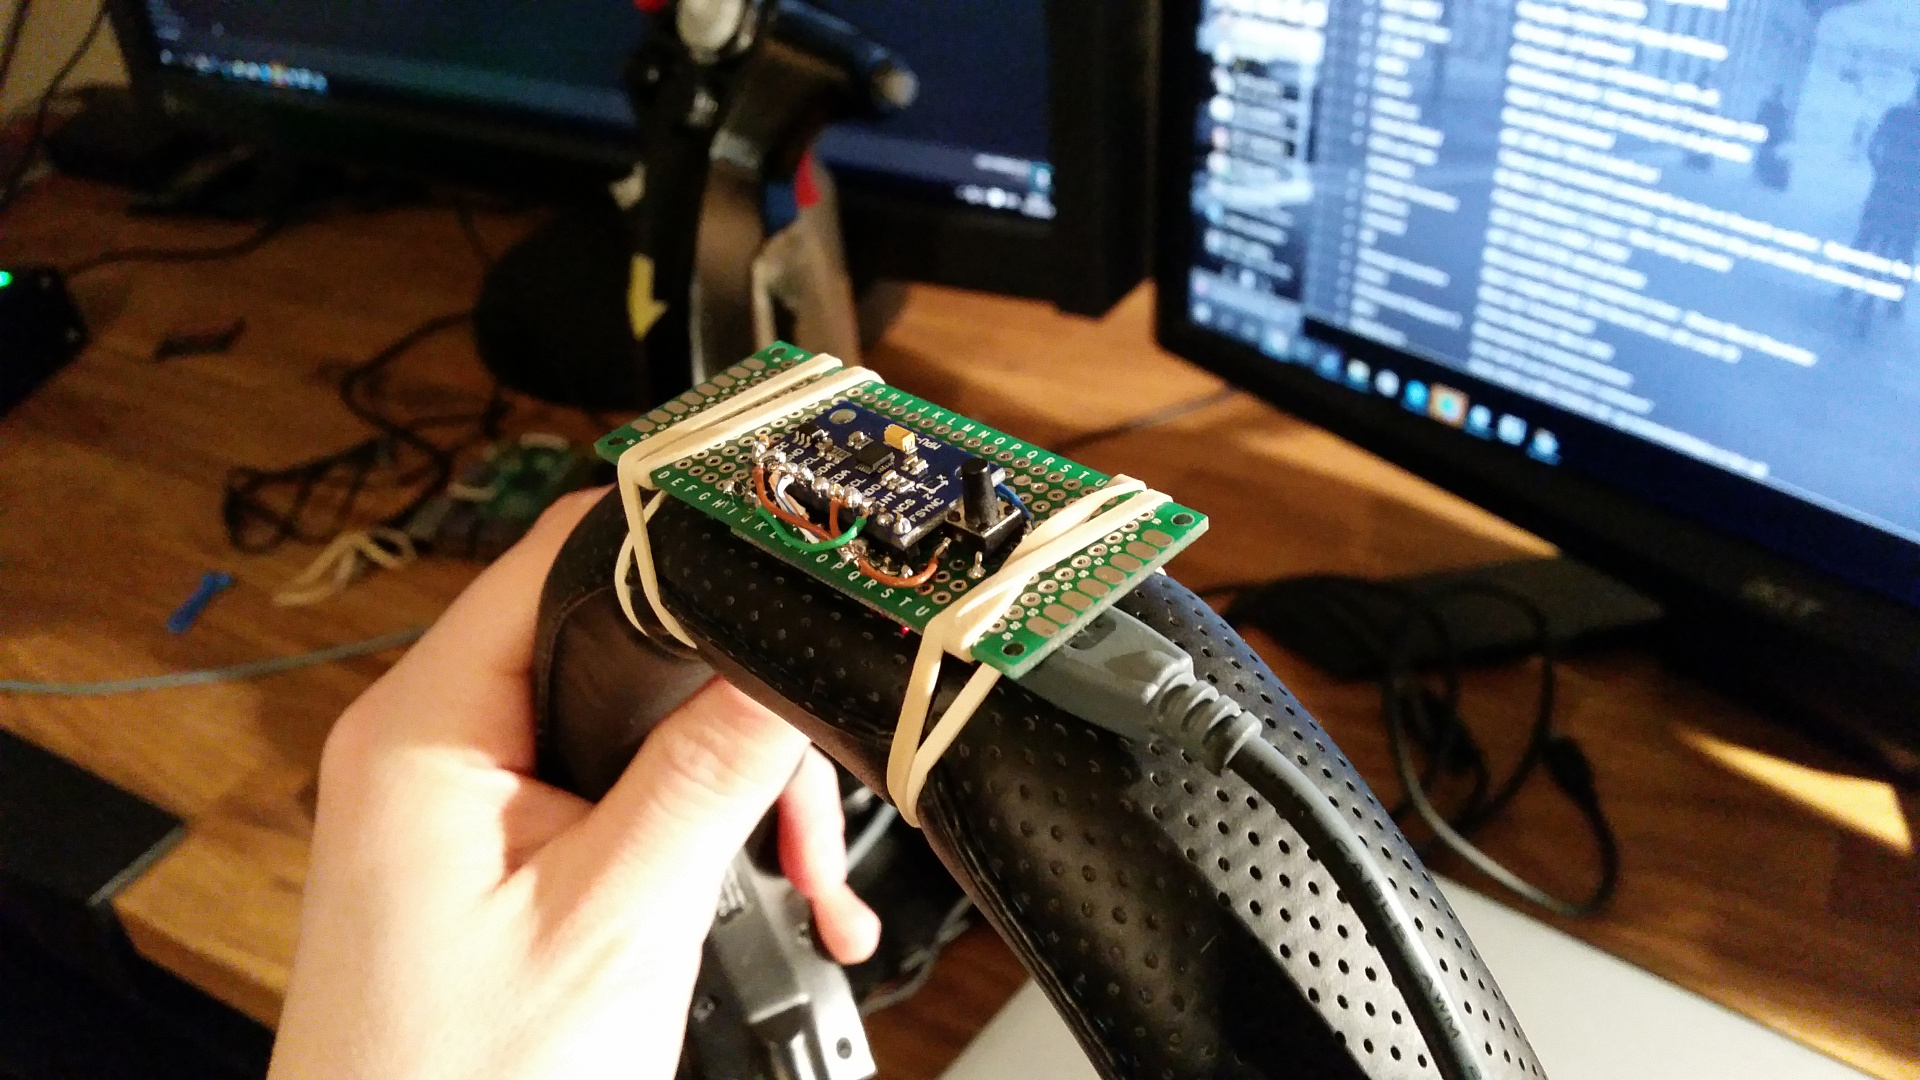
Final assembly complete with direct exposure to the circuit board for extra Nerdy™ look.

Finally, I downloaded the EDTracker GUI for uploading the software to the controller. After I finished calibration, I made a short test available on Youtube demonstrating that it works. I’ll probably use this a lot in Elite Dangerous from now on 🙂
Links:
http://edtracker.org.uk/
http://hobbycomponents.com/electronics/440-diy-head-tracker-bundle#/kit_options-upgraded_kit_mpu_925
http://www.edtracker.org.uk/index.php/downloads/category/1-hardware?download=22:bartybee-s-bare-edtracker-build-guide